Manual Printing: A Comprehensive Guide
Manual printing encompasses diverse techniques – from relief printing and monoprinting to etching and block printing – offering unique artistic expression and practical applications․
Manual printing represents a captivating realm within the broader field of printmaking‚ distinguished by its hands-on approach and artistic control․ Unlike automated processes‚ manual techniques demand direct involvement‚ fostering a unique connection between the artist and the final product․ This encompasses a wide spectrum of methods‚ including historical practices like relief printing‚ etching‚ and the expressive freedom of monoprinting․
Modern iterations‚ such as block printing – specifically linocut and woodcut – continue to thrive‚ offering accessible avenues for creative exploration․ The beauty of manual printing lies not only in the tangible results but also in the inherent imperfections that imbue each print with character and individuality․ It’s a process steeped in tradition‚ yet constantly evolving with innovative techniques like rainbow roll printing and reduction printing․
Historical Overview of Manual Printing Techniques
Manual printing boasts a rich history‚ evolving from early relief printing methods to intricate etching and expressive monoprinting‚ shaping artistic expression for centuries․
Early Methods: Relief Printing
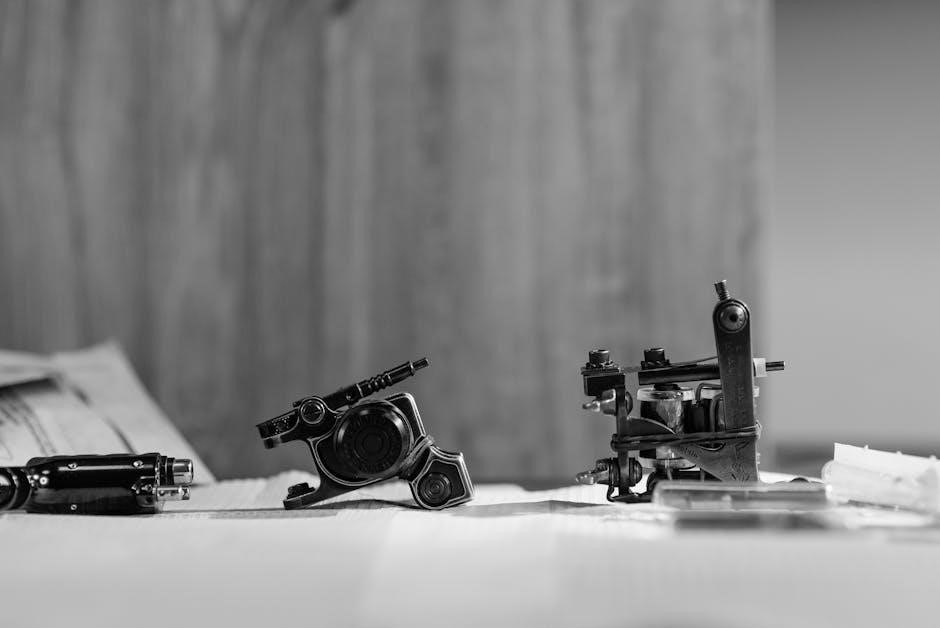
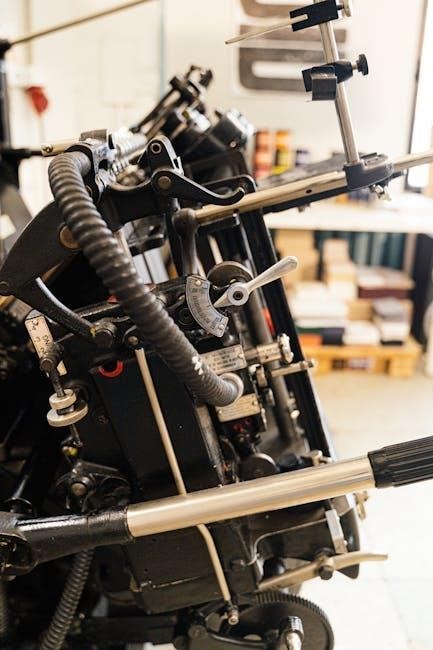
Relief printing represents some of the earliest forms of manual printing‚ dating back centuries․ This technique involves carving an image into a surface – traditionally wood‚ but also linoleum – leaving the desired design raised in relief․ Ink is then applied to the raised surface‚ and paper is pressed against it‚ transferring the image․
Variations within relief printing include woodcut and wood engraving‚ each offering distinct textures and levels of detail․ Woodcut‚ utilizing the grain of the wood‚ often produces bolder‚ more graphic results․ The process demanded skilled craftsmanship and patience‚ as the carved areas would remain blank in the final print․ This method was crucial for disseminating information and art before the advent of more mechanized printing processes‚ showcasing a foundational step in printmaking history․
Monoprinting and its Variations
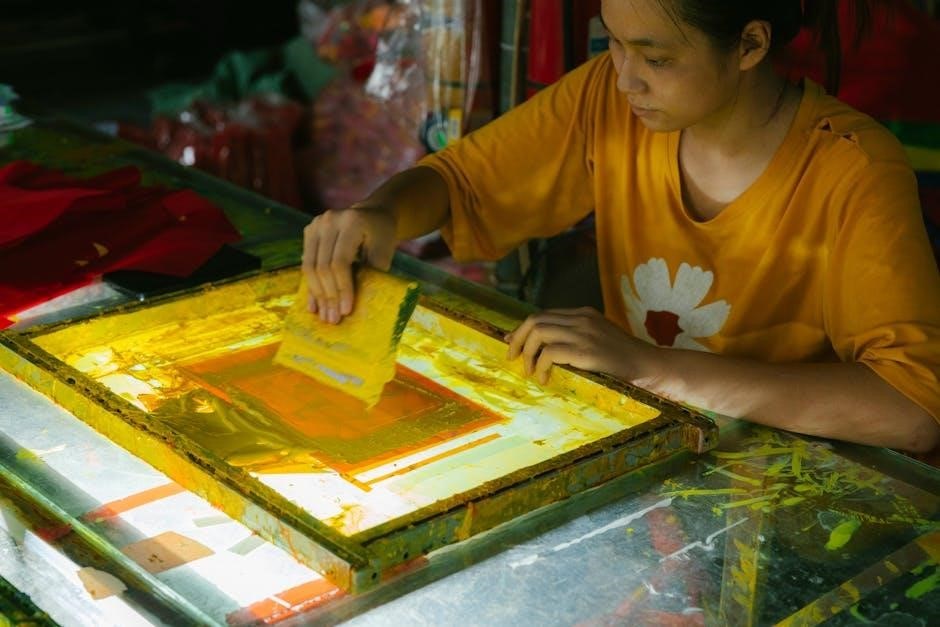
Monoprinting‚ also known as monotype‚ is a unique printing process creating a single‚ one-of-a-kind impression․ Unlike other methods‚ it doesn’t rely on a reusable matrix․ Instead‚ ink or paint is applied directly to a smooth surface – glass‚ acrylic‚ or metal – and then transferred to paper by hand or using a press․
Variations include adding textures‚ using stencils‚ or subtracting ink to create diverse effects․ This spontaneous technique allows for expressive mark-making and painterly qualities․ Because each print is unique‚ monoprinting offers artists a direct and immediate connection to their work‚ fostering experimentation and artistic freedom․ It’s a versatile method‚ bridging painting and printmaking․
Etching: A Detailed Look
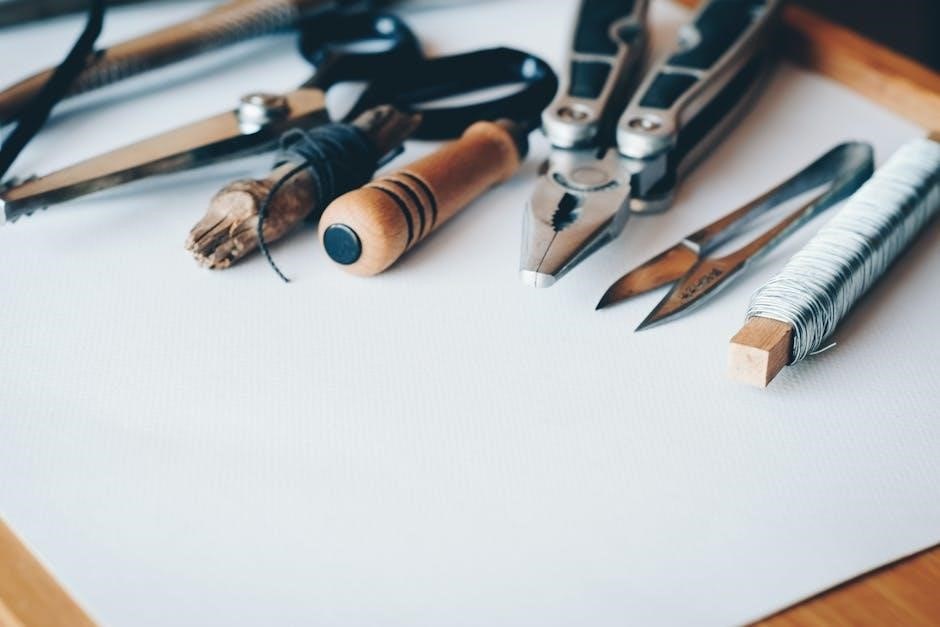
Etching is an intaglio printing process utilizing acid to create recessed lines in a metal plate – typically zinc or copper․ The artist covers the plate with a protective ground‚ then draws through it‚ exposing the metal․ When immersed in acid‚ the exposed lines are bitten‚ creating the image․
The plate is then inked‚ wiped clean‚ and pressed with dampened paper to transfer the ink from the recessed lines․ Etching allows for incredibly detailed and nuanced imagery․ Variations include soft ground etching‚ aquatint‚ and drypoint‚ each offering unique textural possibilities․ It’s a complex‚ time-intensive process demanding precision and artistic skill․

Modern Manual Printing Techniques
Modern techniques build upon tradition‚ including block printing like linocut and woodcut‚ alongside innovative methods such as reduction printing and rainbow roll effects․
Block Printing: Linocut and Woodcut
Block printing‚ a cornerstone of manual printing‚ utilizes carved surfaces to transfer ink onto paper․ Linocut employs a sheet of linoleum as the matrix‚ favored for its softer texture and ease of carving‚ making it accessible for beginners and experienced artists alike․ Conversely‚ woodcut utilizes a block of wood‚ demanding greater precision and skill due to the wood’s grain and hardness․
Both methods involve removing material from the block to create a raised design‚ which then receives ink․ This inked surface is pressed onto paper‚ yielding a printed image․ The simplicity of these techniques allows for bold‚ graphic results‚ and they remain popular for creating prints‚ illustrations‚ and artistic expressions․ Multi-color prints are achievable through techniques like reduction printing and rainbow rolls․
Reduction Printing in Linocut
Reduction printing‚ a captivating linocut technique‚ allows for multi-colored prints from a single block․ The process begins by carving and printing the first color layer․ Subsequently‚ more of the linoleum block is removed‚ and a second color is applied and printed over the first․ This continues‚ with each successive layer carved and printed‚ progressively reducing the original block․
Crucially‚ each print requires careful planning as you cannot go back and add previously removed areas․ This method demands precision and foresight‚ resulting in layered‚ complex images․ Techniques like rainbow roll printing can further enhance the visual impact‚ blending colors seamlessly on the block before printing‚ creating stunning gradients and effects․
Rainbow Roll Printing Techniques
Rainbow roll printing is a vibrant linocut technique achieving stunning color blends directly on the block․ It involves applying multiple ink colors side-by-side onto the linoleum surface‚ then using a brayer to blend them into a smooth gradient․ This blended ink is then transferred to the paper‚ creating a rainbow-like effect within the printed image․
Mastering this technique requires careful ink selection and consistent brayering pressure․ It’s often used in conjunction with reduction printing‚ adding depth and complexity to multi-layered prints․ The resulting prints showcase beautiful color transitions‚ offering a dynamic and visually engaging aesthetic‚ perfect for landscapes or abstract designs․

Digital vs․ Offset Printing for Manuals
Digital printing suits smaller runs with quick edits‚ while offset printing excels in large volumes‚ offering cost-effectiveness and high-quality image reproduction․
Digital Printing: Advantages and Applications
Digital printing presents a compelling solution for manual production‚ particularly when dealing with smaller print run quantities․ Its core advantage lies in its remarkable flexibility‚ allowing for swift and straightforward edits and updates to the manual’s content without incurring substantial costs or delays․ This agility is invaluable for documents requiring frequent revisions or personalization․
Furthermore‚ digital printing consistently delivers high-quality images‚ ensuring that diagrams‚ illustrations‚ and photographs within the manual appear crisp and professional․ The cost-effectiveness of digital printing becomes increasingly apparent when compared to traditional methods for limited quantities․ It’s an ideal choice for on-demand printing‚ eliminating the need for large inventories and reducing waste․ Applications include training guides‚ user manuals‚ and internal documentation where customization and rapid turnaround are paramount․
Offset Printing: Best for Large Volumes
Offset printing emerges as the preferred method when substantial quantities of manuals are required․ This traditional technique involves transferring an inked image from a plate to a rubber blanket‚ and subsequently to the printing surface‚ ensuring consistent‚ high-quality results across numerous copies․ While the initial setup costs are higher than digital printing‚ the per-unit cost dramatically decreases with increased volume․
For large-scale manual production‚ offset printing offers unparalleled efficiency and economic benefits․ It excels in reproducing intricate details and maintaining color accuracy‚ crucial for technical diagrams and branding consistency․ If your project demands thousands of manuals‚ offset printing provides a cost-effective and reliable solution‚ delivering professional-grade results with exceptional clarity and durability․

Design Considerations for Printed Manuals
Effective design prioritizes color contrast for readability‚ utilizing bolding‚ italics‚ or shading to highlight key points without overwhelming the reader․
Color Contrast for Readability
Achieving optimal color contrast is paramount when designing printed manuals‚ directly impacting user comprehension and reducing eye strain․ The most universally recommended approach involves utilizing black text on a white or light-colored background; this combination provides the highest level of legibility for the majority of readers․
However‚ designers aren’t limited to this single option․ Careful consideration should be given to the target audience and the overall aesthetic of the manual․ Sufficient contrast is the key – ensuring a clear distinction between the text and its backdrop․ Avoid combinations that blend together or create a visually jarring effect․
Poor color choices can significantly hinder the manual’s effectiveness‚ leading to frustration and decreased information retention․ Prioritizing readability through thoughtful color contrast is a fundamental aspect of successful manual design․
Effective Highlighting Techniques
Strategic highlighting within a printed manual draws attention to crucial information‚ enhancing comprehension and retention․ Techniques like employing bold text‚ italics‚ or utilizing shaded boxes effectively emphasize key points and instructions․ However‚ moderation is vital; overuse diminishes the impact and can create visual clutter‚ ultimately hindering readability․
Highlighting should be reserved for genuinely important content – definitions‚ warnings‚ steps in a process‚ or critical data․ A consistent approach to highlighting throughout the manual establishes a clear visual hierarchy․ Consider using color sparingly to denote different levels of importance or categories of information․
The goal is to guide the reader’s eye and facilitate quick access to essential details‚ not to overwhelm them with excessive emphasis․

Paper Stock Selection for Manuals
Paper weight and finish significantly impact a manual’s durability and readability; choosing wisely ensures longevity and a professional appearance for frequent use․
Weight and Finish Options
Paper weight‚ measured in pounds (lbs) or grams per square meter (gsm)‚ dictates the manual’s sturdiness and feel․ Lighter weights (20lb/74gsm) are cost-effective for high-volume documents‚ while heavier weights (80lb/216gsm or higher) offer a premium feel and increased durability‚ ideal for frequently referenced manuals․
Finish options include matte‚ gloss‚ and satin․ Matte provides a non-reflective surface‚ reducing glare and enhancing readability‚ particularly important for text-heavy manuals; Gloss offers vibrant color reproduction and a polished look‚ suitable for manuals with numerous images․ Satin strikes a balance‚ providing moderate sheen and good readability․ Consider the manual’s purpose and target audience when selecting the appropriate weight and finish․
Choosing Paper for Durability
Durability is crucial for manuals subjected to frequent handling and prolonged use․ Opting for higher paper weights – such as 80lb text or 100lb cover stock – significantly enhances tear resistance and overall longevity․ Consider paper’s brightness; brighter papers often feel smoother and more substantial․
Coated papers‚ like gloss or satin‚ offer a protective layer against moisture and wear‚ extending the manual’s lifespan․ For exceptionally demanding environments‚ explore specialized papers designed for durability‚ potentially incorporating features like water resistance․ Ultimately‚ selecting a paper that withstands anticipated usage ensures the manual remains legible and functional over time․
Binding Options for Manuals
Binding choices—saddle stitching‚ spiral binding‚ and perfect binding—impact a manual’s appearance‚ durability‚ and lay-flat capability‚ influencing user experience․
Saddle Stitching
Saddle stitching is a popular and cost-effective binding method‚ particularly well-suited for manuals with a relatively low page count․ This technique involves folding the sheets of paper in half and stapling them through the fold line‚ resembling a booklet․ It’s an excellent choice for documents ranging from 8 to 64 pages‚ offering a clean and professional finish․
The process is quick and efficient‚ making it ideal for shorter print runs and projects with tight deadlines․ However‚ saddle stitching isn’t suitable for thicker manuals as it can cause page creep – where inner pages extend slightly beyond outer pages․ It’s a simple‚ reliable option that provides a secure hold for the pages‚ ensuring the manual remains intact during regular use․ The open flat nature is also a benefit․
Spiral Binding
Spiral binding‚ also known as coil binding‚ offers a durable and versatile solution for manuals requiring frequent use and lay-flat functionality․ This method involves punching holes along the spine of the pages and inserting a plastic or metal coil to hold them together․ It allows the manual to open fully and lay flat‚ simplifying note-taking and referencing․
Spiral binding is suitable for a wider range of page counts than saddle stitching‚ accommodating thicker manuals effectively․ It’s a popular choice for workbooks‚ training guides‚ and reference materials․ While generally more expensive than saddle stitching‚ the added durability and convenience make it a worthwhile investment․ The coil comes in various colors‚ allowing for customization and branding opportunities․
Perfect Binding
Perfect binding creates a clean‚ professional finish resembling a paperback book‚ making it ideal for manuals with a substantial page count․ This technique involves gluing the edges of the pages together to form a block‚ then attaching a cover that wraps around the spine․ It provides a sleek‚ polished appearance and a robust‚ long-lasting binding․
Perfect binding is best suited for manuals with 60 pages or more‚ offering a high-quality look and feel․ It allows for spine text‚ enhancing organization and identification․ While generally more expensive than saddle stitching or spiral binding‚ the professional aesthetic and durability justify the cost for important documents․ It’s commonly used for reports‚ guides‚ and comprehensive training materials․
Cost Factors in Manual Printing
Print run quantity‚ paper stock choices‚ and binding options significantly impact the overall cost of manual printing‚ requiring careful consideration․
Print Run Quantity
Print run quantity is a primary driver of manual printing costs; larger volumes generally translate to lower per-unit expenses due to economies of scale․ Digital printing proves more economical for smaller batches‚ offering flexibility and reduced setup fees․ However‚ as the required quantity increases‚ offset printing often becomes the more cost-effective solution․
This is because the initial setup costs for offset printing – including plate creation – are substantial‚ but these costs are distributed across a larger number of printed pieces‚ lowering the individual price․ Carefully estimating the necessary number of manuals is crucial to optimize spending and avoid unnecessary expenses․ Consider potential future needs when determining the print run size․
Paper and Binding Costs
Paper stock selection significantly impacts manual printing expenses‚ with weight and finish directly correlating to price․ Heavier‚ coated papers generally cost more than lighter‚ uncoated options․ Binding costs also vary considerably depending on the chosen method․ Saddle stitching‚ suitable for lower page counts‚ is typically the most affordable․
Spiral binding offers a professional look at a moderate cost‚ while perfect binding – creating a flat spine – is the most expensive but provides a high-quality finish․ Durability requirements influence paper choice; thicker stock withstands frequent handling․ Balancing desired aesthetics‚ functionality‚ and budget is key to controlling overall manual printing costs․
Quality Control in Manual Printing
Proofing is essential‚ meticulously checking for errors in content and design before full production ensures a polished‚ professional final product for your manuals․
Proofing Process
The proofing process is a critical stage in manual printing‚ demanding meticulous attention to detail․ Initially‚ a digital proof is generated‚ allowing for content review and layout assessment․ This stage identifies errors in text‚ images‚ and formatting before committing to physical prints․
Subsequently‚ a hard copy proof – a physical sample – is created․ This allows evaluation of color accuracy‚ paper quality‚ and the overall visual impact․ Carefully compare the proof against the original design files‚ scrutinizing for discrepancies․
Multiple rounds of proofing may be necessary‚ especially for complex manuals․ Encourage collaboration between designers‚ content creators‚ and stakeholders to ensure complete accuracy and satisfaction before authorizing the full print run․ Thorough proofing minimizes costly errors and guarantees a professional‚ high-quality final product;
Checking for Common Errors
During manual printing quality control‚ diligently checking for common errors is paramount․ Scrutinize text for typos‚ grammatical mistakes‚ and inconsistencies in terminology․ Verify image resolution and placement‚ ensuring they are crisp and aligned correctly․ Pay close attention to page numbering‚ headers‚ and footers for sequential accuracy․
Inspect color reproduction‚ confirming it matches approved proofs and brand guidelines․ Examine margins and bleed areas to prevent unwanted cropping during binding․ Confirm that all barcodes or QR codes are scannable and link to the correct destinations․
A final review should verify consistent formatting throughout the entire manual‚ ensuring a polished and professional appearance․ Addressing these details minimizes errors and enhances user experience․

Future Trends in Manual Printing
Sustainable printing practices and integrating printed manuals with digital resources are key future trends‚ balancing tangible and virtual information access․
Sustainable Printing Practices
The future of manual printing increasingly prioritizes environmentally responsible methods․ This shift involves utilizing recycled paper stock‚ minimizing waste throughout the production process‚ and employing eco-friendly inks – such as soy-based alternatives – that reduce volatile organic compounds․
Furthermore‚ printers are adopting practices to reduce energy consumption and water usage․ Responsible forestry certification‚ like the Forest Stewardship Council (FSC)‚ ensures paper sourcing from sustainably managed forests․
Digital proofing minimizes material waste associated with traditional proofing methods․ Ultimately‚ embracing these sustainable practices not only benefits the environment but also appeals to a growing consumer base that values ethical and responsible production․
Integration with Digital Resources
Modern manual printing isn’t about replacing digital resources‚ but enhancing them through strategic integration․ Printed manuals can incorporate QR codes linking to online tutorials‚ supplemental videos‚ or interactive troubleshooting guides․ This blended approach offers the tactile benefits of print alongside the dynamic capabilities of digital media․
Augmented reality (AR) features‚ triggered by printed pages‚ can overlay digital information onto the physical manual‚ providing a richer‚ more engaging user experience․
Furthermore‚ manuals can direct users to online forums or knowledge bases for community support and updated information‚ ensuring long-term relevance and value․